The controversy surrounding Tiger Woods two-shot penalty at the Masters last weekend should serve as a testament to just how important the rules of golf actually are, and if the greatest player in the world can get mixed upon such a simple matter then maybe it’s a good time to clear a few things up.
Have you ever wondered what the difference is between a water hazard marked with yellow stakes and a water hazard marked with red stakes? In the past, you’ve probably just pulled a ball out of your bag and dropped it where you think it went into the hazard but in many instances, this isn’t the correct procedure. Depending on where your ball went in and what kind of hazard it is, you may have a number of options at your disposal.
This quick guide below will help you lay out your options so you can avoid any confusion and put yourself in the best possible position to finish the hole.
Water Hazards Marked with Yellow Stakes
The first thing to do after you’ve hit your ball into the water (assuming you aren’t going to try and play it), is to take a one-shot penalty. After you’ve done that, you have three options:
Option 1:
Play your next shot by dropping a ball nearest to the point where your last stroke was played (this is where Tiger got confused. Make sure you drop AS CLOSE AS POSSIBLE to the location that your previous shot was played). If you’re on the tee box, you have the option to re-tee.
Option 2:
Identify the spot where your ball last crossed the water hazard and drop as far back as you want in between that spot and the pin. (Remember it’s not where your shot ended up in the hazard, it’s where it last crossed).
Option 3:
Go to the designated drop zone. If the golf course hasn’t set aside an area for this, you must go with Option 1 or Option 2.
Water Hazards Marked with Red Stakes
These are referred to as lateral hazards and the rules for dropping are a bit different. The same one-shot penalty must be added to your score but you really only have one option.
Option 1:
Similar to a yellow-staked hazard, you must identify the point where your ball crossed into the water, but instead of dropping as far back as you want in between that spot and the pin, you must drop within two club lengths (no closer to the hole).
It’s also important to note that because lateral hazards generally run parallel to the hole, you also have the option to identify the point where your ball crossed the hazard and go directly across to the other side to drop.
Once again, you can only do this if that location is NO CLOSER TO THE HOLE (most players don’t know that they have this option and in many instances, you can gain a distinct advantage by going to the other side of the water hazard).
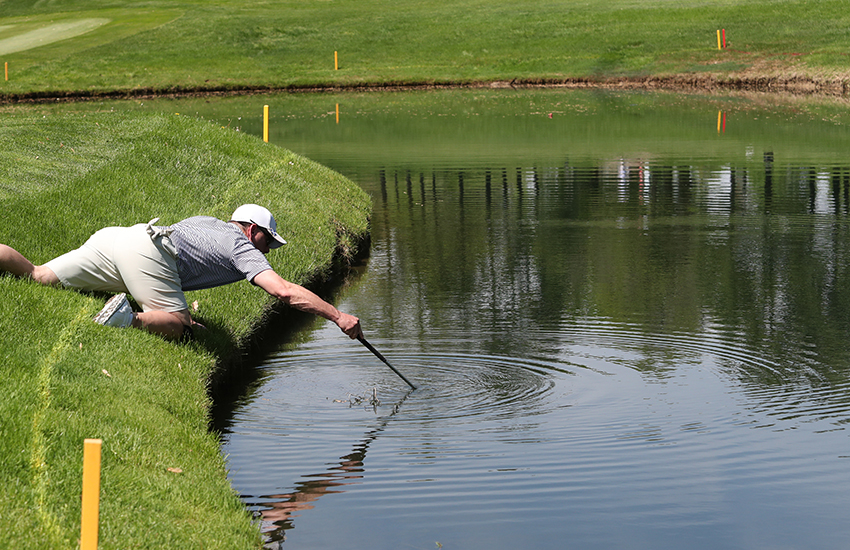
Obviously, your other option in both these scenarios is to roll up your pants and get in the water to hit your ball. A good rule of thumb here, if less than half the ball is showing, don’t even attempt to hit it.
If you have specific questions on unusual circumstances, consult the USGA rule book (or website).